A Gift for Christmas my dear blog friends who, like me, love Sewing and I always follow with great affection ... Thank you!
Call it what you want: shopping bag, school bag, walking bag, purse or bag for emergency Utility.
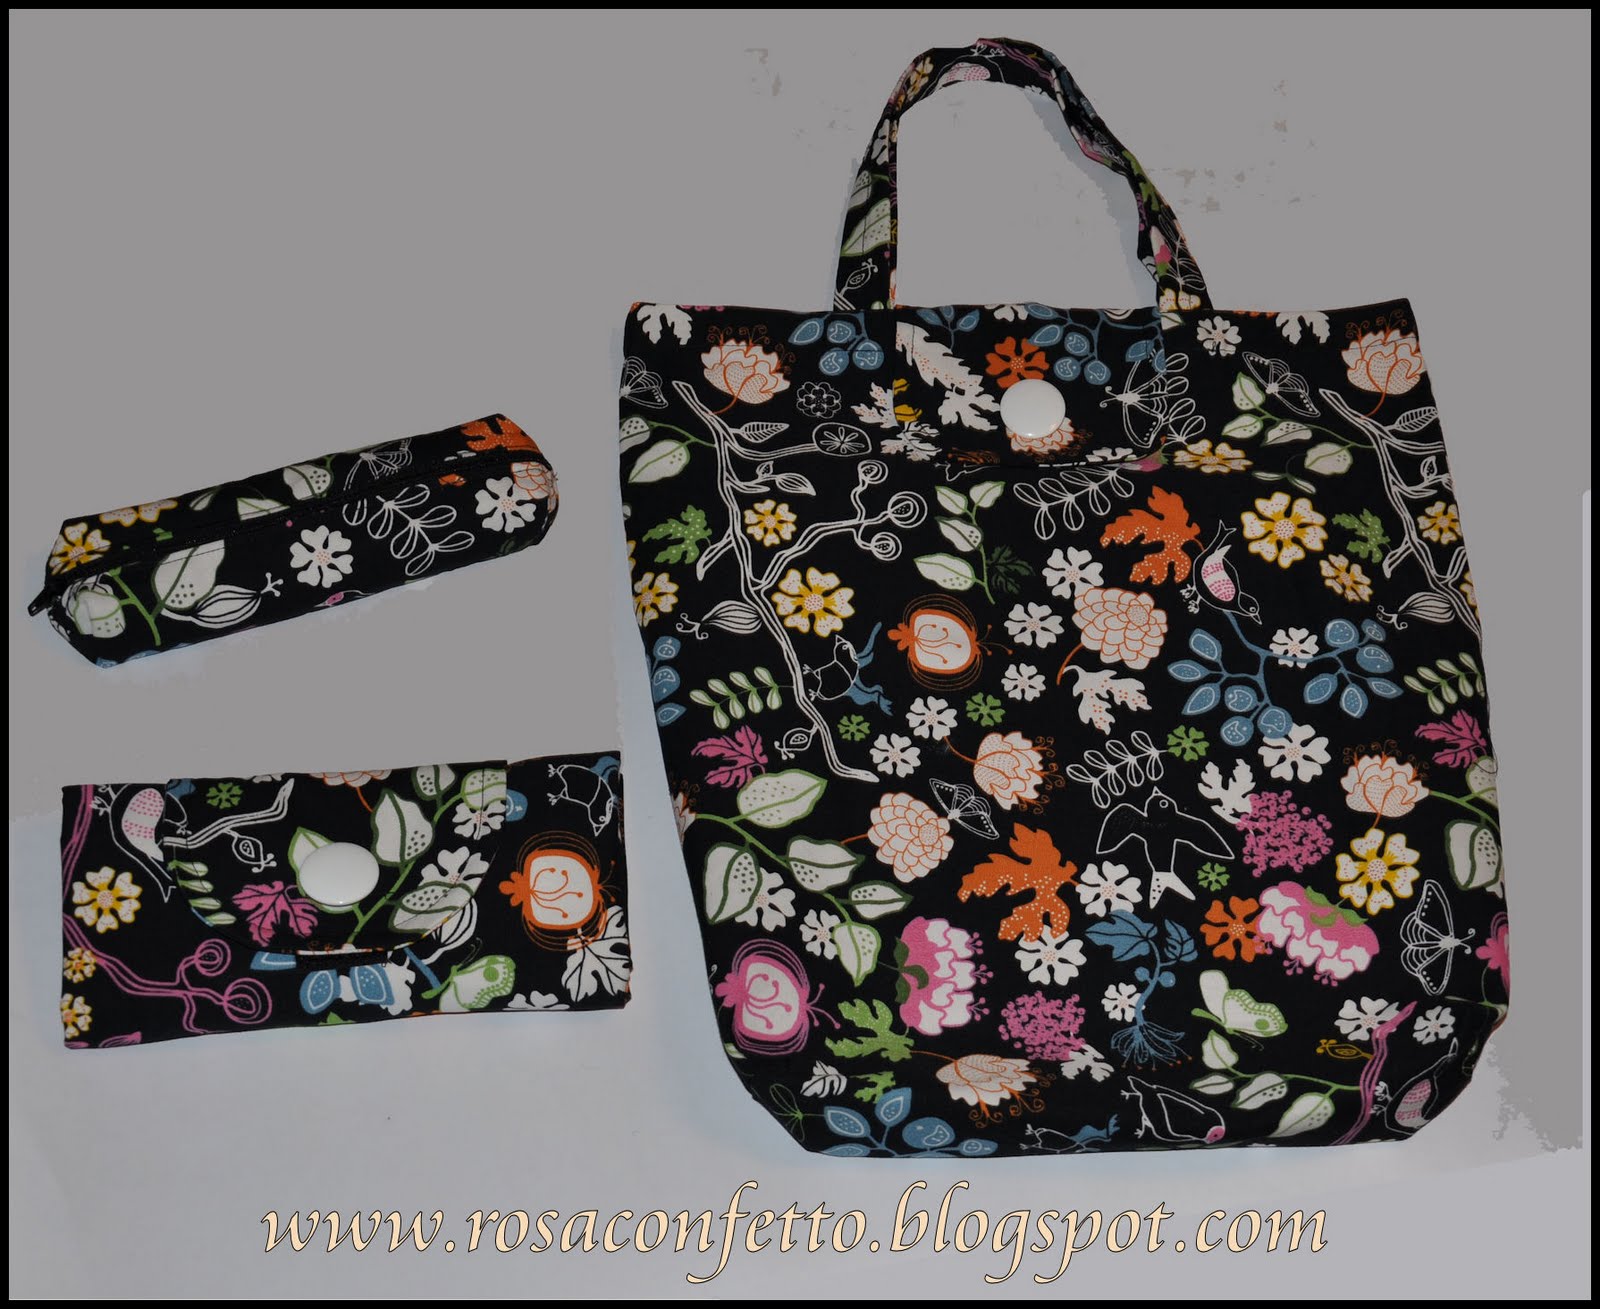
The particularity of this bag is that it is collapsible, it is pretty open but also closed, you can hold in your bag or stored in a drawer and is always ready to use.
Call it what you want: shopping bag, school bag, walking bag, purse or bag for emergency Utility.
The particularity of this bag is that it is collapsible, it is pretty open but also closed, you can hold in your bag or stored in a drawer and is always ready to use.
 start with the explanation:
 Required:
- 2 pieces of fabric 40 X 50 cm for the bag
- 2 pieces Fabric 15 X 15 cm for a draw
- 2 pieces of fabric 7.5 X 50 cm handles
- 4 + 4 inch velcro
Design:
Overlap fabrics right sides of the bag, sew and overcast the two long sides and one short.
With the help of a team, to mark the corners as shown in the first picture (about 5 cm per side).
Sew the corners as shown in the second photo.
 Cut and overcast the excesses of the corners.
  Prepare the flap closure by applying a small piece of velcro (the rough part) in one of two fabrics, centrally and 2 cm from the edge.
 Lay the other piece of cloth and draw the rounded corners.
sewing and trimming the edges in a zig-zag.
Turn and press.
 ironing board and even the handles of the bag as you can see in these photos, so you will not have to sew baste first.
 Sew the handles.
 Pin the handles below the rim of the bag so that the handle can fit inside the flap (note that the flap must be sewn on the outside of the bag). In my case, but it is best to check each time the handles are sewn at 10 cm from the edge.
 Sew around the edge of the bag including the handles.
turn out the handles and retorted with a strong seam.
Apply as you can see a draw in the second photo (click on photos to enlarge!).
 Lift the flap to the handles and retyping.
 door in the front of the bag and mark the point where to apply the Velcro (the soft part).
Sew Velcro.
 Now we have to bend and you see this in detail in these photos .
  After it folded in the width we have to bend in length.
 of these last three photos you see that I've marked the spot where sew another piece of Velcro (soft part).
Check sign showing that the central and sew the velcro.
 And here's the finished bag and well packed!
 It seems a small portfolio?

 The following is the first I have done for me and I use as a school-bag for the spoken English course I am attending. In conjunction, I also made a small astuccetto.
 Come potete vedere inizialmente avevo pensato di richiuderla in modo diverso da quello spiegato sopra. Se vi piace di più basta piegare le larghezze prima dei manici .
Buon Natale !

0 comments:
Post a Comment